Health & Fitness
Arguably the most prevalent hiking injury, blisters are as easy to get as they are annoying. Even the most experienced hikers sometimes suffer from blisters, which, although small, can really make what should have been a memorable hike into an agonizing experience. So, one of the most essential things you should know is how to prevent blisters when hiking
Preventing Blisters While Hiking 101
Ever since people began wearing footwear, thousands of years ago, blisters have been a super-common nuisance. While we do have amazing science-based ergonomically designed hiking shoes nowadays, that doesn’t mean blisters are a thing of the past. At all. You still need to break in even the most expensive high-tech hiking footwear.
Preventing blisters while hiking is a key skill you’ll need to learn if you’re looking to do some serious hiking. It’s as important as learning how to properly pack a backpack or how to use hiking poles correctly. They’re “hiking essentials” if you will. These critical hiking skills can either greatly improve your hiking experience or make it a truly uncomfortable one.
In this blog post, you’ll learn all about the causes of blisters, how to prevent blisters when hiking, and how to treat blisters.
Let’s start with the basics…
What Are Blisters and What Causes Them?
Johns Hopkins Medicine defines blisters as follows:
“A blister is a bubble on the skin containing fluid. Blisters are usually circular in shape. The fluid that forms underneath the skin can be bloody or clear.”
They have many causes, which range from burns and skin conditions to allergies and friction. For hikers, the main—if not the only cause—is friction.
While hiking, friction often occurs in spots where your boots and/or socks rub against your skin. When that happens, the outer layer of your skin moves more than the (more sensitive) inner layers. They will eventually separate and the gap will fill up with fluid. The purpose of that fluid is to protect the sensitive inner layers and heal the damaged tissue.
If you get a blister and notice that it’s filled with red fluid—a so-called blood blister—don’t worry. This simply means that a blood vessel has also been damaged by the friction and is no reason for any additional concern.
When you’re hiking, REI identifies three main factors that may cause or speed up the formation of blisters on your feet:
- Direct friction/heat – As described above, a shearing force created by rubbing can cause skin layers to separate and fill with fluid. You now have a blister.
- Pressure – Friction pressure points can occur at tight spots in your shoes or boots, or because of a wrinkle in your sock.
- Moisture – Sweaty skin means softer skin. This, in turn, makes it much more sensitive to friction.
How to Prevent Blisters When Hiking
So, if you’re wondering how to avoid blisters when hiking, you should focus on these three factors: friction, pressure and moisture. Reduce all of them and you dramatically decrease your chance of getting blisters on the trail.
Find and Wear Hiking Shoes That Fit Well
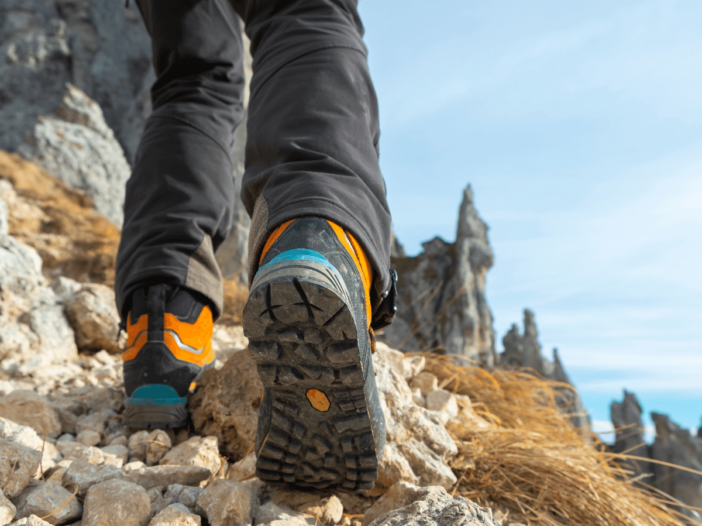
The first and arguably most important thing you can do to prevent blisters while hiking is getting the right hiking shoes or boots. Perfectly fitting boots will significantly lower the risk of pressure points and friction.
Properly Break In Your (New) Shoes or Boots
Even though you may have purchased a brand new pair of hiking boots for that epic hike you’ve always dreamed of, that doesn’t mean you should wait for that specific hike to wear them. In fact, your first outing with your sparkling new boots should be a casual one.
It’s very important to break in your footwear. This allows the insides of your boots to assume the shape of your feet, thereby reducing future friction points. Consider wearing them while doing yard work, going to the grocery store, walking your dog, etcetera.
By doing this, you’ll also notice possible sensitive areas, which you could then pay attention to on your actual hikes.
Good Socks Are Essential
Socks are probably just as essential as boots. After all, they’re the layer between your foot and your boot. The best hiking socks to prevent blisters greatly reduce friction, pressure and moisture. Choose socks that fit snugly around your feet, and don’t have any wrinkles or noticeable seams.
Never wear cotton socks since they retain moisture. Instead, go with synthetic and/or woollen socks. Feel free to experiment a bit until you find the best sock setup for you.
I recommend trying out a combination of thin, synthetic and moisture-wicking socks underneath a pair of thicker woollen socks. This extra layer between your skin and your main socks reduces friction dramatically.
Consider Putting on Foot Powder
If you know you’re susceptible to getting blisters when hiking, you might want to consider using foot powder. This chalk-like powder reduces friction, while also keeping your feet a lot drier. Combined with a pair of thin liner socks, this is a fantastic trick for preventing blisters while hiking.
Get Supportive Insoles
Supportive insoles can prevent your feet from sliding around in your boots. This, too, can minimize friction between your skin, socks and boots.
Clip Your Toenails
This may seem like an out-of-the-box tip for how to prevent blisters while hiking, but it does make sense. Although clipping your toenails won’t have an enormous effect on blister formation, however, it’s still worth considering.
Clipped toenails will, after all, lower pressure in the front of your boot and may help to prevent blisters on your toes. And even if this just might prevent blisters, it certainly won’t hurt! Every little bit helps.
Take Off Wet Socks ASAP
Whether your feet are sweaty or you’ve just waded across a stream, it’s important to change to dry socks as soon as you can. Putting on fresh socks resets the moisture level in your boots to the one at the start of your hike. This will certainly prevent blisters later on.
Cover Sensitive Spots With Tape
If you’ve properly broken in your hiking boots, you should be aware of any potentially sensitive areas. If you think you might get a blister, you can preventively cover those spots with adhesive tape.
Any general adhesive tape will do, including kinetic tape and duct tape. This effectively covers the possible blister spot, while at the same time still allowing your sock or boot to slide across the area without actually rubbing your skin.
Wash Your Feet
It’s a good idea to wash or rinse your feet regularly when you take breaks or set up camp for the night. Feet that are dirty and sweaty don’t only get blisters much faster, but they also increase the risk of a blister getting infected.
Simply putting your tired feet in a cold stream can greatly help preventing blisters when hiking. Moreover, it’s also a phenomenal feeling!
How to Treat Blisters on the Trail
If you’ve taken care of all the above-mentioned blister prevention tips and you still feel a blister (forming) while on the trail, there are a couple of things you can do.
Address “Hot Spots” Right Away
When you notice an area begins feeling sore, sensitive or uncomfortable, take care of it right away. Take a break, take your boots and sock off, and assess the situation.
You can effectively treat a hot spot and even small blisters in a really easy way; put some tape over it. Additionally, there are also special blister bandages with gels and padding that you can buy beforehand. Apply them to any area that may develop a (small) blister.
To Pop or Not to Pop?
If your blister is fully developed and too large to cover up, you may have to pop it. While it’s generally not recommended to pop a blister yourself—the purpose of a blister is to protect sensitive inner skin in the first place—sometimes it’s still a good idea to do it.
In case your blister is too painful or is so big it’s going to eventually pop on its own, you should drain it yourself. It is, after all, better to drain it in a setting that you control. You don’t want it to pop by itself in your dirty boot, which increases the risk of infection.
Follow these steps to safely pop a fully formed blister on your foot:
- Use water and soap, or an antiseptic wipe, to clean the blister and surrounding area.
- Sterilize a knifepoint, pin or needle with a flame, boiling water or alcohol.
- Pierce the base of your blister.
- Gently push the fluid out, starting at the top of the blister.
- Treat the blister, which is now a wound, like you would any other wound: with antibiotic ointment and a bandage.
- Cut a hole that’s just larger than your blister in a piece of moleskin.
- Put the moleskin on your blister, keeping the hole over the blister.
- Cover the piece of moleskin with another, second piece of moleskin.
Blister Prevention and Treatment Kit
You should always bring a basic first-aid kit on your hike, which includes blister treatment essentials as a standard. If you’re assembling your own blister treatment kit, make sure it includes the following must-haves:
- Moleskin
- Knife and small scissors
- Antiseptic wipes or alcohol
- Lighter
- Antibiotic ointment
- Duct tape
How to Prevent Blisters When Hiking – Conclusion
If you follow this advice, you will no longer be wondering how to prevent blisters when hiking as you will probably be blister-free and doing precisely what you set out to do – enjoying your hike. If you do happen to develop a blister or two along the trail, you at least now have the tools with which to treat the problem and continue with hopefully only minor discomfort.
Like Our Article? Please Pin it!


Leave a Reply