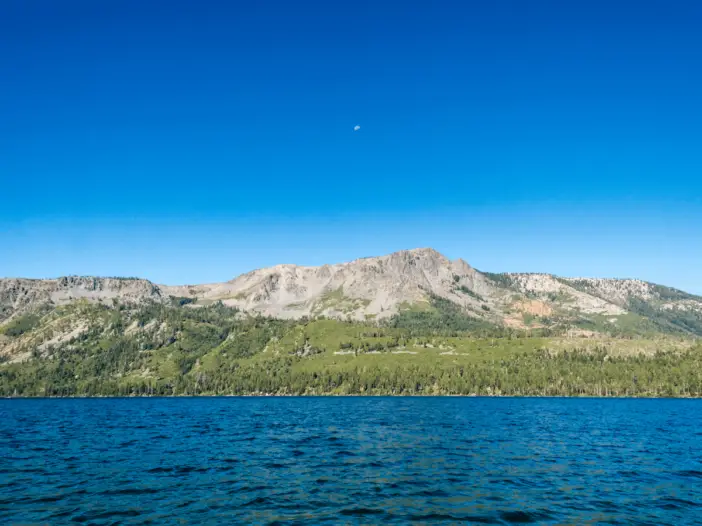
Desolation Wilderness
Hiking Mount Tallac is a great day out if you are seeking a moderate challenge with some superb views across Lake Tahoe and its surrounding peaks
Hiking the Mount Tallac Trail
Lake Tahoe is among the most-loved weekend destinations in California, as much for its great weather as for its plethora of outdoor activities.
Hikers will find plenty of trails to suit every fitness level, and even the most indoorsy folks will enjoy walking along many lakes that dot this landscape.
Perhaps the most iconic of the Lake Tahoe hikes is Mt Tallac, a 10-mile round trip that entails a long stretch up what seems like endless talus and a final summit scramble that could turn into a balancing act if you aren’t careful!
Despite this, it’s an extremely popular trail – when we went, there were about 50 people at the summit alone, and more coming up. Read on to discover more about hiking Mount Tallac – it’s a must-do for summer or fall visits to Lake Tahoe, especially if you’re into peak bagging.
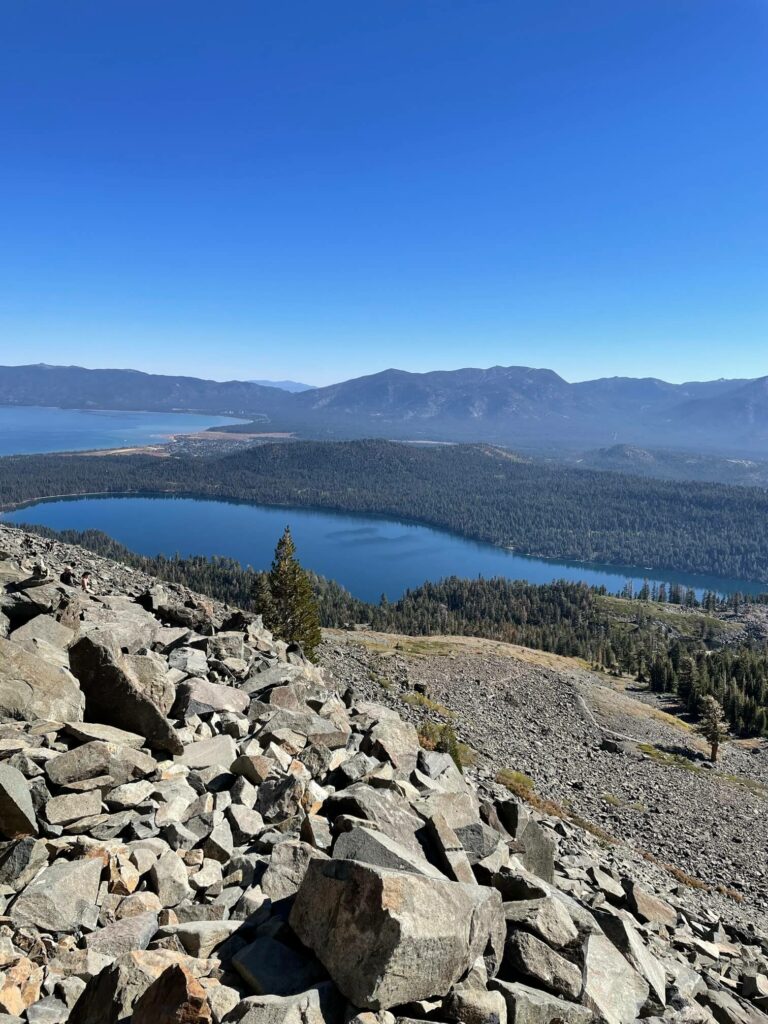
Where is Mt Tallac?
Located in the Desolation Wilderness on the California side of Lake Tahoe, Mount Tallac is a 9739-foot-high peak with 3300 feet of elevation gain.
Where to park for the Mt Tallac trailhead?
There’s plenty of Mt Tallac trailhead parking – did we mention it’s one of the most popular Lake Tahoe hikes! Plus, we saw people parking all along Mt Tallac road once the trailhead area fills up. So, no matter what time of day you hike Mt Tallac, you’re almost guaranteed to find a spot.
Check out this map for the parking lot’s exact location.
How to get to the Mt Tallac trailhead?
The Mt Tallac trailhead is close to Fallen Leaf Campground and about 3.5 miles west of South Lake Tahoe (where most hikers stay). Drive along Highway 89, turning left onto Mt Tallac Road (you’ll see a clearly marked sign).
Continue for approximately 0.4 miles and then turn left onto Mt Tallac Road A. Drive for a further 0.7 miles, and you will arrive at the trailhead parking area.
Mt Tallac trailhead Details
The following location-specific details should assist with your directions:
- Latitude, Longitude (decimal): 38.9214536, -120.0681907
- What3Words
- Google Map
When is the best time to hike Mount Tallac?
Most people enjoy the Mount Tallac hike in the summer because that’s the peak vacation season. However, we heard that summers could get hot and sunny on the trail, so we chose to hike in the early fall.
The temperatures are cooler than in summer, but you still get plenty of sun and there’s almost no chance of running into snow.
I suggest getting an early start when hiking Mount Tallac. However, this is a relatively short summit trail (10 miles total), and the sun exposure is nowhere near as bad as on some higher peaks.
This means that if you’re in reasonably good physical condition, it shouldn’t take you more than seven hours to complete the trail, including rest breaks.
When we hiked this peak, I had a nasty blister on my foot coming down, and my spouse had some knee pain. That slowed us down, but it still took us only 7.5 hours.
So, what’s the best time of day to hike Mt Tallac? You should be more than okay if you start by 10 AM. We saw people coming up at 2 PM, and we were well into our descent.
I honestly wouldn’t recommend starting anytime past 11 because then you get the noonday sun on you all the way up. But if you don’t mind the extra exposure, plan, so you’re back at the trailhead by sunset.
Do I need a permit to hike Mt Tallac?
You’ll need to get a permit online in advance if you’re planning on hiking Mount Tallac as part of a backpacking trip in the Desolation Wilderness.
When I checked online about day hiking permits, they said I could pick up self-serve permits at the trailhead – however, we didn’t see any place where they had stocked permits. So we went ahead and did the hike anyway, and no one stopped us.
How hard is the Mt Tallac hike?
The good thing about hiking Mount Tallac is that the trail isn’t very long – 10 miles in total, so 5 miles each way. Most hikers in good physical condition should be able to tackle that.
Now let’s talk about the trail conditions. The first half is easy-to-moderate and is doable for most fitness levels. If you choose to go just to Cathedral Lake (which is at 2.5ish miles), you can get in a pleasant 5-mile out-and-back hike.
The difficulty picks up after Cathedral Lake. After making your way up a rocky bit, you’re confronted by a HUGE talus field that can seem impossible to go up. Luckily, it’s manageable, but you need to watch your footing.
Hiking across talus will slow your progress which can feel frustrating when you look back and realise you’ve only come a short way.
Then there’s a flattish bit, after which there are some switchbacks, after which there’s a final bit of talus hopping that’ll feel like there’s no real trail and you’re just winging it.
The good news is, this entire ordeal (after Cathedral Lake) only lasts 2.5 miles. But it’ll probably feel like much longer.
Overall, if I were to rate the hike’s difficulty level, I’d say a 7 out of 10. And if you don’t have experience hiking over talus, that would go up to an 8 out of 10. So while it certainly isn’t as hard as, say, Mt Langley, it’s a worthy challenge in its own right.
Mt Tallac Trail Description
We hiked Mt Tallac in the first week of October, as a birthday weekend treat for me (29, woo-hoo!). Given that there was no stress of reaching early, we had oat cappuccinos at Clyde’s Coffee Roasting Co and picked up a custom sandwich to go at Raley’s.
Several cars were already parked at the trailhead, but we found a spot along the road without much trouble.
The first bit up to Floating Island Lake was easy – just your average rocky alpine wilderness deal. This is your warm-up stretch, so set as brisk a pace as you can to get the blood flowing.
After a bit, the forest clears out and you gain some elevation and hit a ridge section. Don’t miss the gorgeous views of Fallen Leaf Lake to your left! And to your right – Mt Tallac.
We were getting major Mount Langley vibes at this point – the slope looked every bit as grey and gnarly. I remember remarking: “Is that really Tallac? Looks way too far and high to be it.” A quick check of the map confirmed that it was, indeed, it. *gulp*
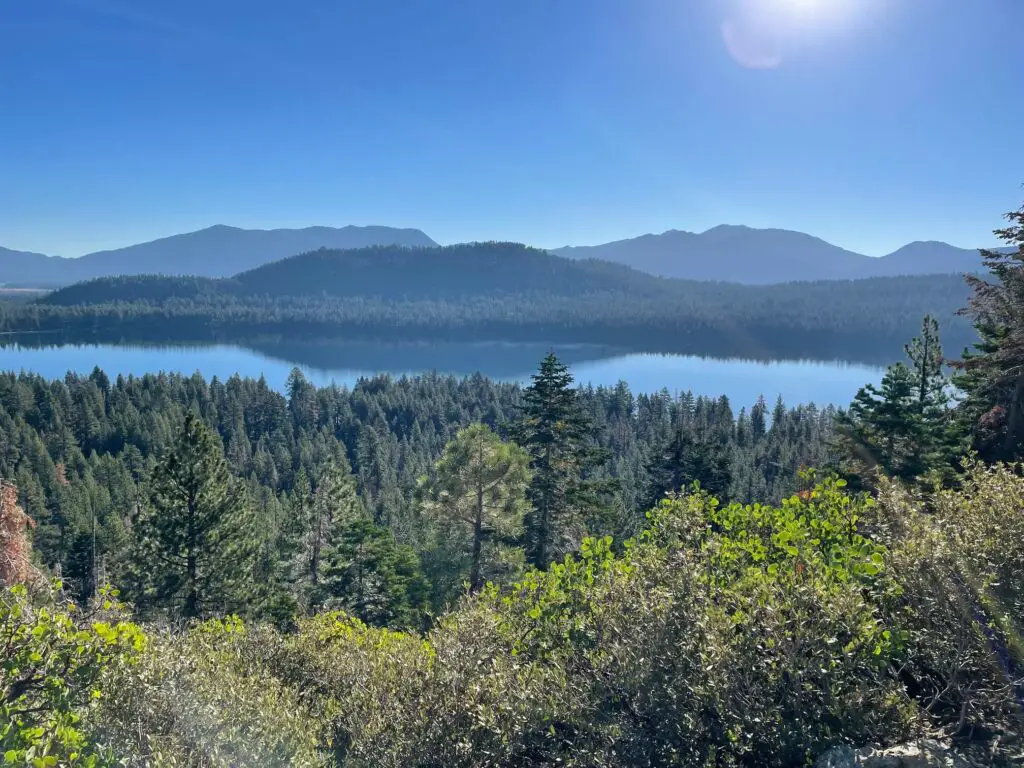
About 1.5 miles in, you get to Floating Island lake. Obligatory photo taking and your first water source if you want to fill up (don’t forget the water filter!).
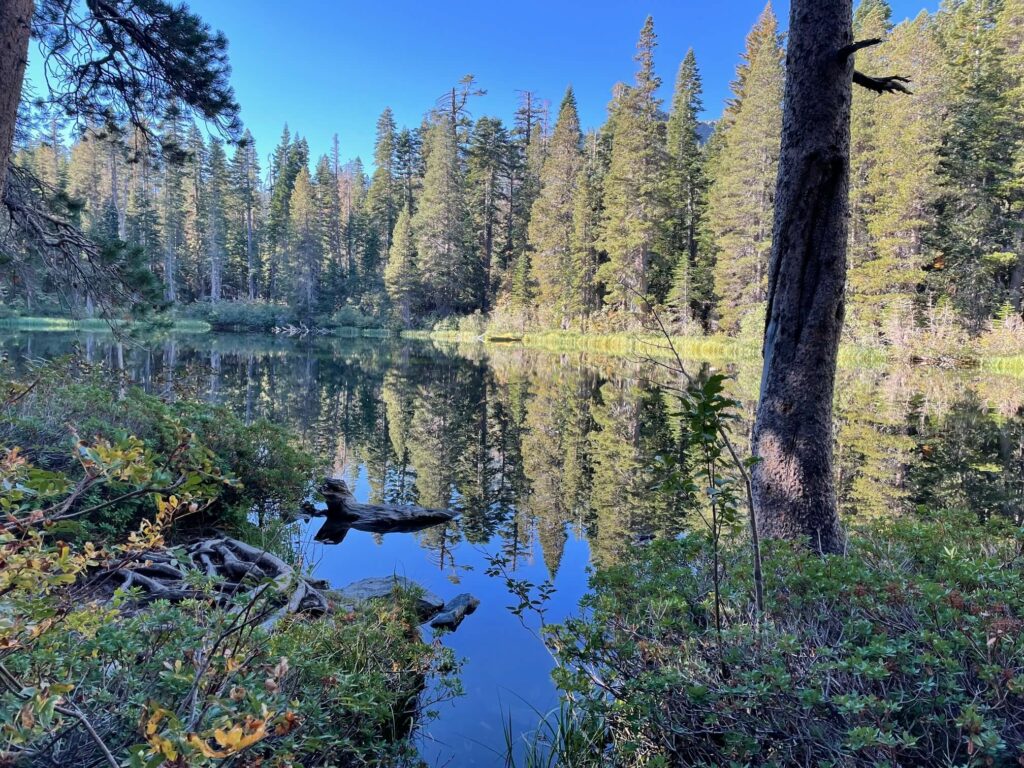
Cut to the left and keep going. It can be a little hard to see the trail, but bear left through the wooded part and keep an eye on your AllTrails map.
There’s another easy-ish stretch now, partly through exposed rock and partly through the forest. Again, keep as brisk a pace as you can – you’ll need the extra time for later.
At 2.5 miles, you reach Cathedral Lake. More photos, and a good spot to break and refuel. I’d been looking forward to my turkey-and-Swiss sandwich all morning, and it did not disappoint. Highly recommend getting one at Raley’s before your hike!
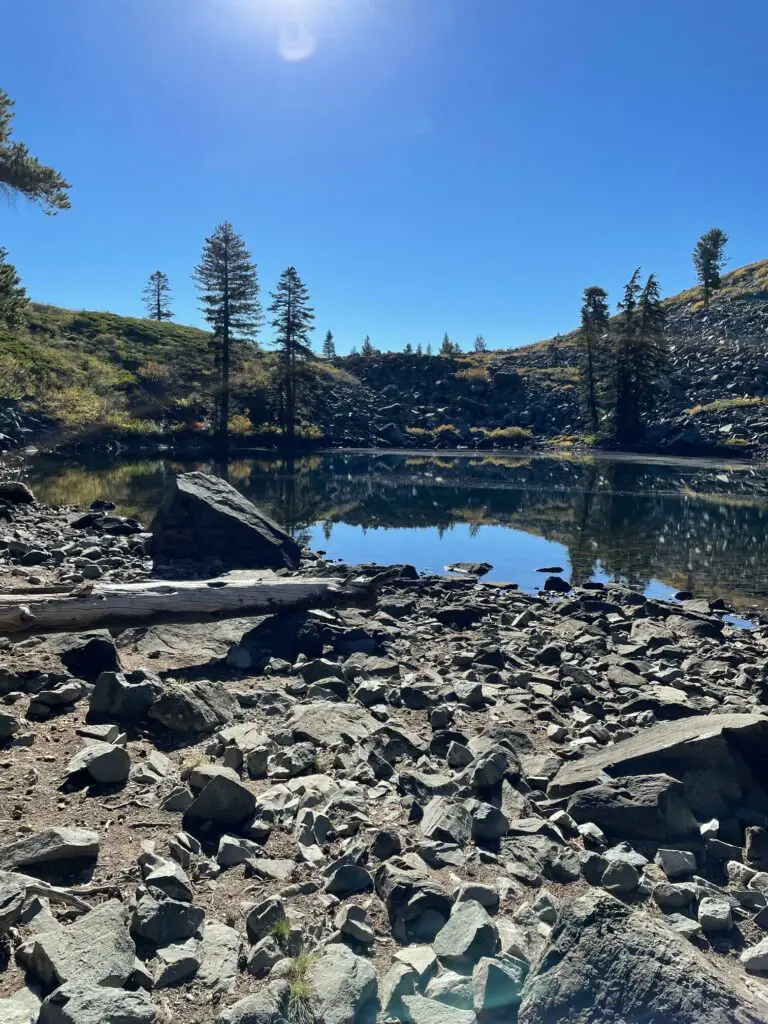
After about 20 minutes, it was time to move on to the hard part. It starts off innocuously – a short uphill hike along a rocky stretch. Moderate, very moderate.

Once you pass that rock wall, though, your heart wouldn’t be blamed for plummeting. Before you lies this huge, demonic talus field that seemingly has no path through it.
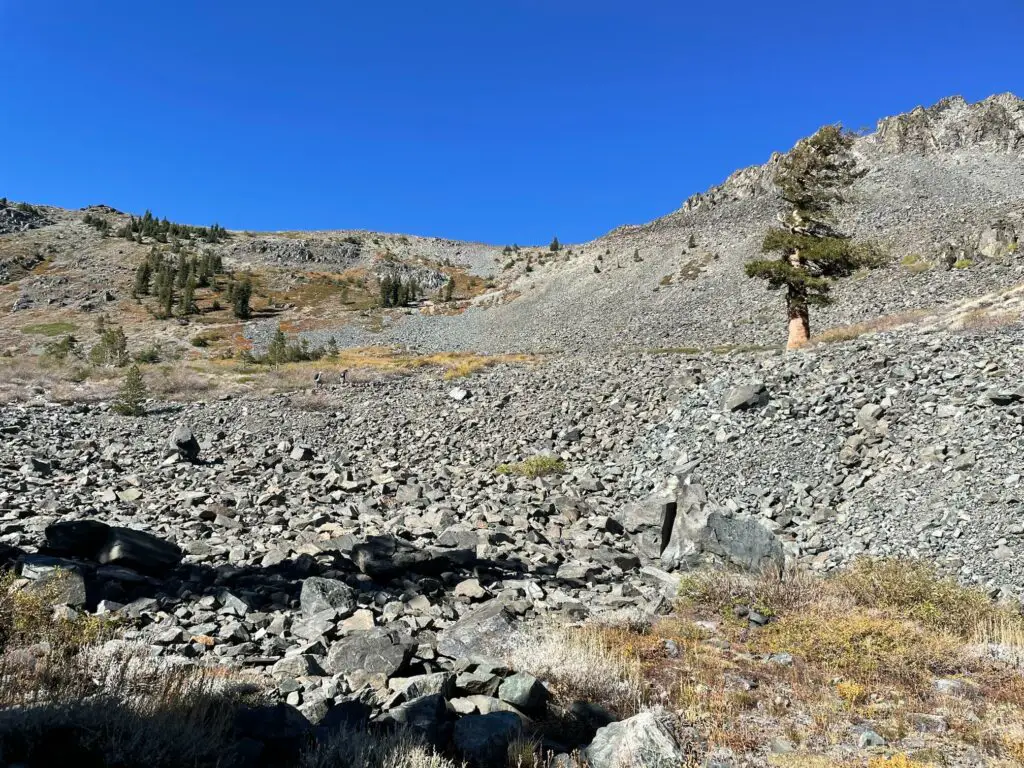
As you inch closer, you can make out the faint zigzag of a trail through the rocks. Keep checking your map – it’s very easy to go off-trail here. I was fairly nervous about the talus part, as I hadn’t hiked at all during my September visit to India.
So I made sure to test each rock before putting the full weight of my body on it, and to hold on with my hands for support wherever I felt unsafe.
I also cheered myself up by playing Led Zeppelin’s “Ramble On” in my head, only with ‘scramble’ in place of ‘ramble’. Nothing like some Led Zeppelin to pump you up.
Once this talus stretch ends, you have a flattish section that goes through a mixture of exposed grass and tree cover. Take this as your breather – there’s another talus climb coming up, shorter but just as intense.
By this time, I was starting to wonder whether the wilderness officials hadn’t made a mistake – surely this was MUCH longer than just 5 miles! Even if it was, though, I’d have to complete it. Turning back now would be silly. Scramble on. *Robert Plant croon*

After this, you get to the second talus bit. This is the final stretch to the summit!
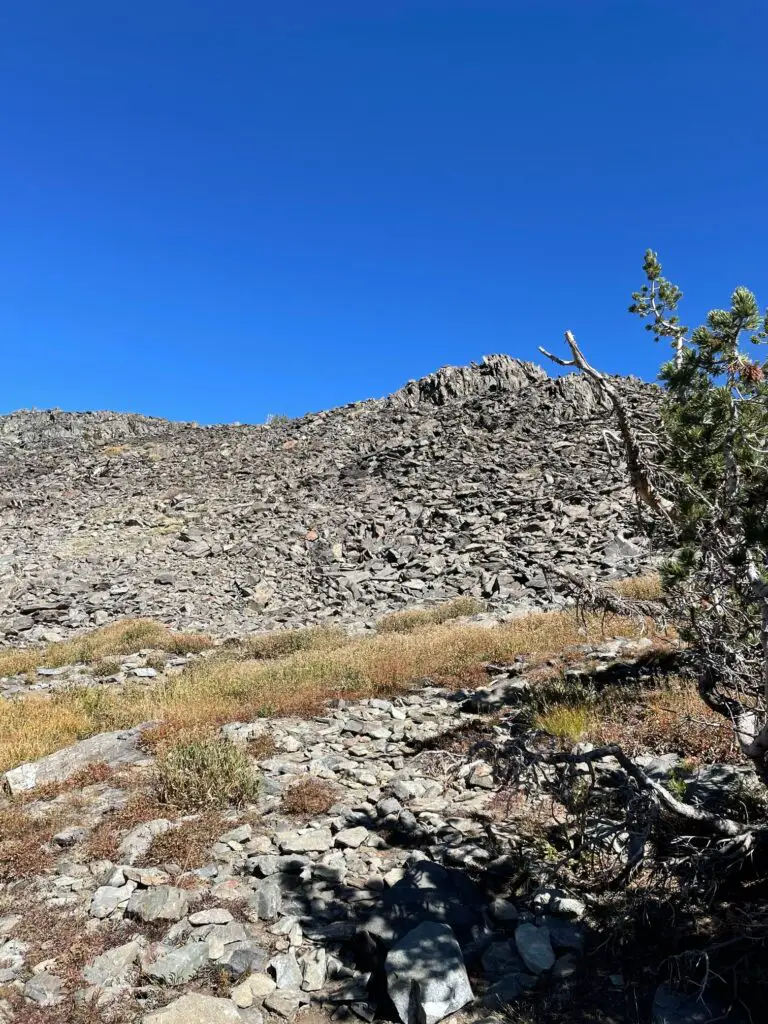
Once you use the switchbacks and get to the top of this, you’re nearly at the summit. Nearly. You still have to traverse an extremely steep and rocky section that includes a scary-looking ridge as well as several other possible paths, all of which are options (in other words, the map isn’t really useful anymore).
My spouse decided to go the ridge route – I was having a bad day, so I tried following him along the ridge, panicked (not advisable!) and made my way back down to a safer, flatter route. Hold onto rocks whenever you feel unsafe – you’re almost there.
And then, finally, we were at the top. Woo-hoo! Time for the obligatory summit photo.

The views at the top were pretty, but the summit itself was crowded – at least 30 other people! It’s one of those craggy summits, so there are plenty of places where you can sit comfortably and have a snack if you like. It gets noisy, though, so we started our descent after taking a few pictures.
Talus is almost always harder on the way down, so take all the time you need. I had a blister on my right foot that was hurting like the devil, so we were much slower than either of us would have liked.
Still, as I mentioned at the start, we weren’t in a tearing rush or anything. So we went at our own pace, and reached the trailhead at around 4:30PM.
Hunger pangs were creeping up on us by this time, pangs that only Indian food could hope to assuage. So we drove to the nearest Indian restaurant and stuffed our faces with butter chicken, saag paneer, naan and pulao. A fitting end to a super-fun adventure!
Like Our Article? Please Pin it!

Leave a Reply