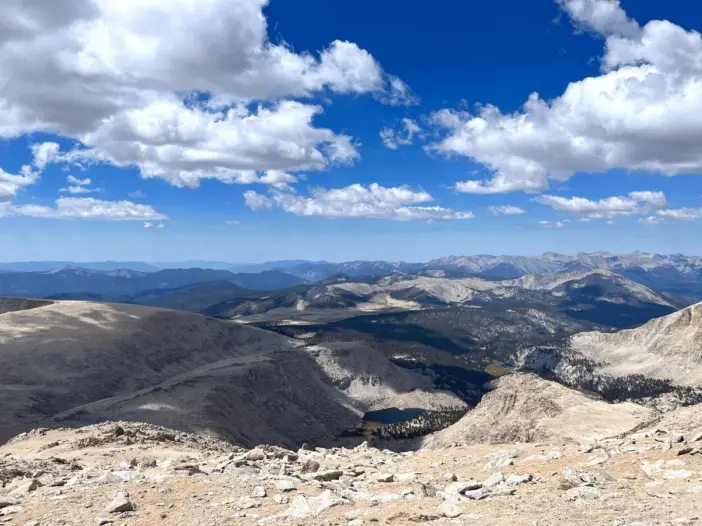
Sierra Nevada Mountains
If you plan to conquer one of California’s 14ers for the first time, there is no better starting peak than Mount Langley. Our guide to hiking Mount Langley offers vital information to help make your trek a success!
Mount Langley Hike
Any American hiker worth their salt has at least one 14er on their hiking bucket list. A 14er is a mountain whose summit is at least 14000 feet above sea level, and the USA has 96 of these giants.
Among the most famous is Mount Langley – a California 14er in the Sierra Nevada mountains with a long, strenuous and hugely rewarding route to the top.
My spouse and I hiked Mt Langley in August 2022 and count it as one of the most memorable things we’ve ever done. This guide gives you the lowdown on this epic trail, including how to get there, how hard it is, our Mt Langley hike experience and some tips to help you complete it.
Where is Mount Langley?
Mount Langley (14026 ft) is located in the Sierra Nevada Mountains of California. It’s one of twelve 14ers in this mountain range, including the famous Mt Whitney, and is the 9th highest peak in California. You can see the mountain’s location on this map.
Where to park for the Mount Langley trail?
There’s plenty of parking at the trailhead, but we recommend getting there as early as possible, so you’re sure of a good spot (especially if you have a larger car and need a good amount of space). Check out this map for the parking lot’s exact location.
This is advisable anyway, as you’re about to tackle an extremely long hike – the earlier you start, the more time you have on hand to summit and get back!
How to get to the Mount Langley trailhead?
The Mt Langley trail starts at the Cottonwood Lakes trailhead. To get there, leave Highway 395 in Lone Pine, heading west along Whitney Portal Road. In 3.1 miles, turn left onto Horseshoe Meadows Road and follow for 19.2 miles, then turn right onto an unnamed road, leading directly into the trailhead parking lot in 0.6 miles.
Cottonwood Lakes trailhead Details
The following location-specific details should assist with your directions:
- Latitude, Longitude (decimal): 36.453129078087166, -118.16950415970909
- What3Words
- Google Map
Do I need a permit for Mt Langley?
You don’t need a Mount Langley permit to undertake a day hike. However, many hikers choose to camp at the Cottonwood Lakes trailhead campground the night before, for which you need a walk-up reservation.
August is the peak season for hiking Mount Langley, so there was always a chance we wouldn’t get a spot at the campsite. Luckily, we found a way out – we took a motel room at Lone Pine and drove up to the trailhead.
A little expensive, but it guarantees you have a place to spend the night. And it’s only a 40-minute drive to the trailhead.
When to hike Mt Langley?
The best time to hike Mt Langley is in the summer months – in particular, July and August. There’s still some chance of snow in June, so we recommend waiting until July.
How long does it take to climb Mount Langley?
When hiking Mount Langley, you have two options: the New Army Pass or the Old Army Pass. The New Army Pass is longer but has a more well-defined path with switchbacks.
The Old Army Pass is shorter but very steep and requires considerable scrambling. Overall, you’ll be hiking anywhere between 22 and 26 miles during this hike.
Experienced hikers can complete it in as few as seven hours, but if you’re an amateur, budget around 12-14 hours (including rest stops) for the entire hike.
How hard is the Mount Langley hike?
If you look up 14er hiking guides online, you’ll see that Mt Langley ranks as a Class 1 – the easiest of the hiking levels. Do not be fooled by that. The Mt Langley hike is a long, arduous trail with 5900 feet of elevation gain and significant sun exposure.
Certain sections, like the talus-laden homestretch, require a good bit of scrambling and route-finding, and there’s also the high altitude to consider. Again, do not consider hiking Mount Langley or any other 14er unless you are in good physical condition.
Hiking Mount Langley – Our Experience
Since we were doing Mt Langley as a day hike, we wanted to get as early a start as possible so we could summit before noon.
I recommend noon as a cut-off time for any summit hike, as you want to be back at the trailhead well before dark. Post noon, the chances of thunderstorms are much higher too.
We woke up at 01:00, loaded up on coffee and instant mashed potatoes (which were remarkably good!) and set out. We started our hike from the Cottonwood Lakes Trailhead at exactly 02:50.
Several cars were already there, but for some reason, we saw no one else on the trail. (Still not sure why!)
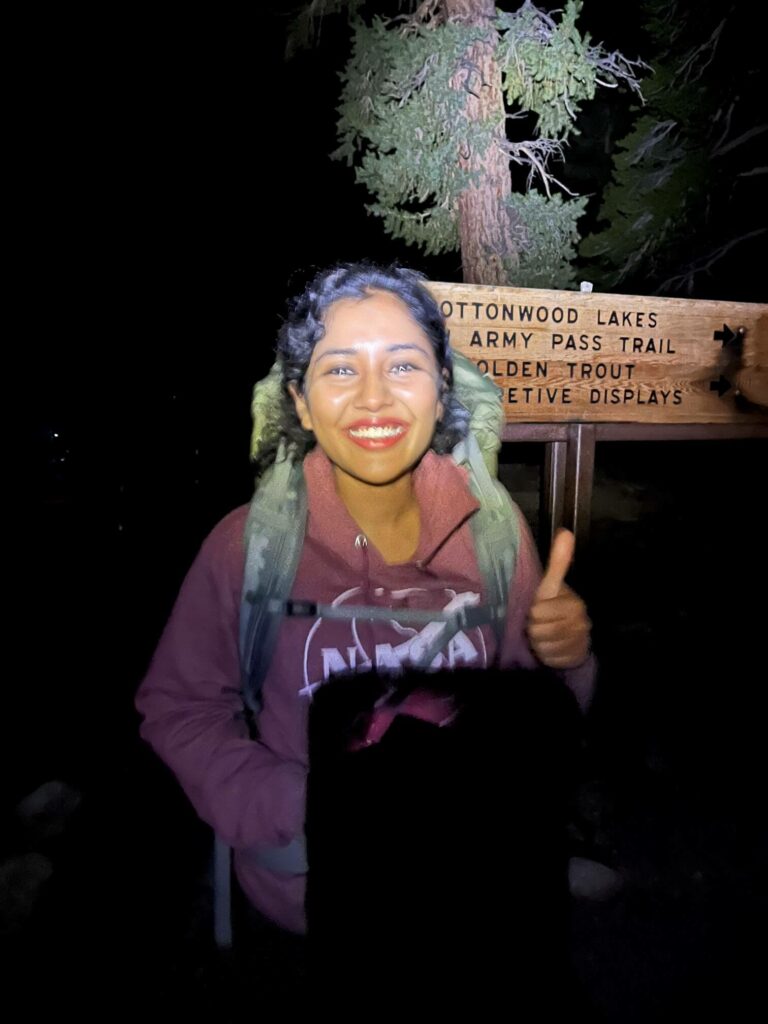
The first four miles take you through the woods. We were in complete darkness apart from the beams of my spouse’s headlight and my phone light, and given all the signs we’d seen about this being active bear territory, it was pretty spooky.
There are several interconnected trails, so be sure to download an offline map and keep referring to it – AllTrails has a good one. This portion of the Mt Langley trail is pretty flat, so we recommend setting a brisk pace and covering as much ground as possible – you’ll need as much time as you can spare for later on!
Somewhere around mile 3.5, there’s a sign where you can branch off towards New Army Pass or continue up along the way to Old Army Pass. We opted for the latter.
A little further on, the forest thins out, and you have a couple of miles out in the open. At this point, the mountains loom up and frown at you in the dark. Spot Mt Langley ahead of you – it’s easy as it’s the highest peak by a long chalk. Keep your eye on the trail map and keep going.
At around 05:30, we reached Cottonwood Lakes. The day was just starting to break – we spent a few minutes taking in the scene and grabbing a snack. There are no water sources on this trail after Cottonwood Lakes, so if you’re running low, fill up.
Then, the’ challenging’ section begins from Cottonwood Lake #5 (you can identify it from the map).
The Old Army Pass is a scramble up a rock wall leading to the main Mt Langley trail. If you don’t know what a scramble is, it involves picking your way through rock fields (called talus) and big boulders, occasionally using your hands to hoist yourself up.
Fun! Or not. This section isn’t very long, but it’s steep! Take your time and watch your footing.
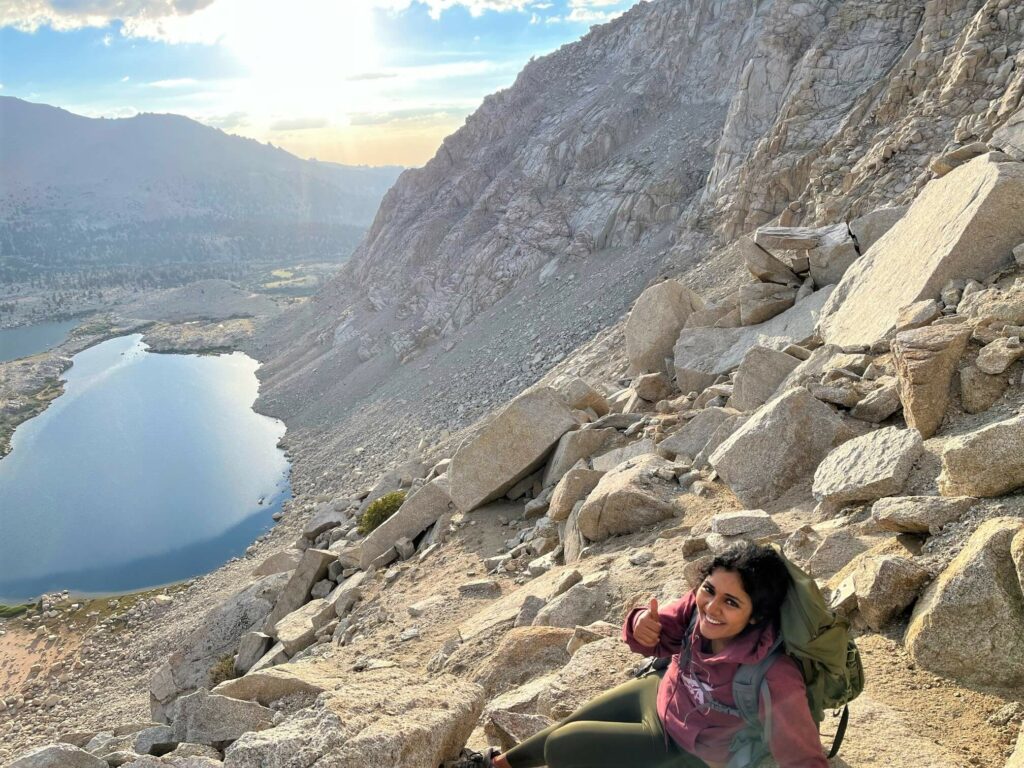
At the top of the pass, you reach a flat section out in the open, with a sign that says ‘Welcome to Sequoia National Park’. Keep an eye on your AllTrails map, the trail is very faint here, and you can easily go the wrong way. You now have about 1.5 flattish miles to cover. Enjoy it while you can – plenty more scrambling to come.
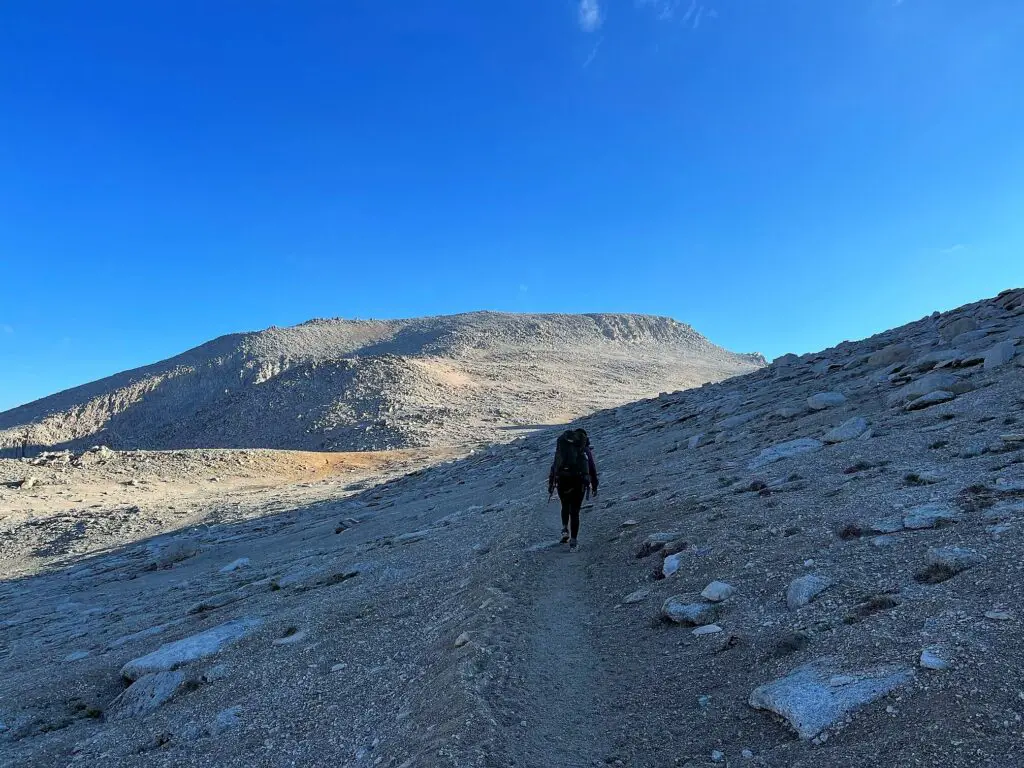
As you continue, you’ll see Mt Langley looming ahead. At this point, you’ll want to start keeping an eye out for the cairns. These are big piles of stones that help you find your way, as it can get confusing to find the shortest route at times.
A big cairn marks the way to go across a short flat section towards a set of boulders, your gateway, of sorts, to the top.
The fun continues as you hoist yourself up through the boulders. Take your time and find a firm foothold before moving – some rocks are looser than they appear, so be careful! The cairns are pretty accurate; keep an eye out for each subsequent one as you go up.
You’ll probably feel extra fatigue because of the altitude at this time. This is when you’re most likely to lose your footing, so go as slow as you need to. Keep taking sips of water.
Now you see your most significant and steepest talus field yet when you thought it couldn’t get any worse. AllTrails will show you a way, but at this point, it’s basically “go up however you can”. You’ll see several faint trails, which you could follow or make your way up – it’s all fair game.
The thin air was getting to us in earnest now, and we were stopping to catch our breath every minute – as my spouse eloquently put it, “it feels like you’re drowning, slowly but surely”. But like the determined badasses we are, we kept going.
Finally, at exactly 10:30, we summited. Woohoo! There’s a big shiny sign there; go ahead and pose. You deserve it.
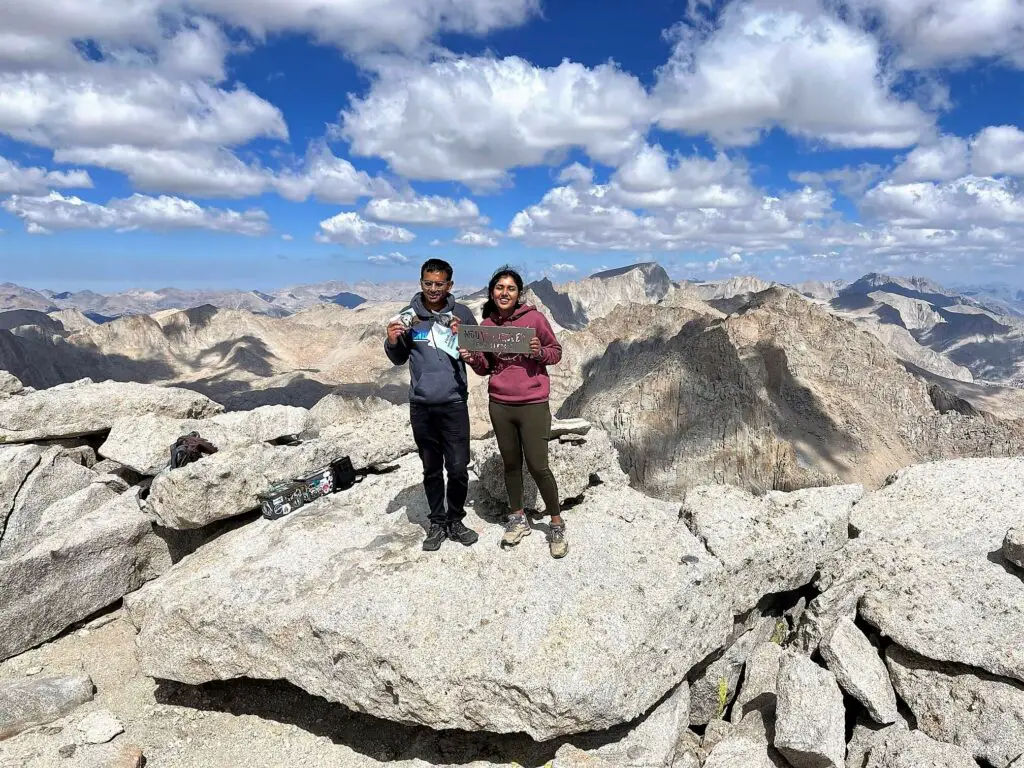
It was pretty windy, so we didn’t linger too much. We ate some food, chatted with other hikers, took a few more photos and then commenced our descent.
The way down was almost as hard as the way up, partly because we were tired, and partly because you have to do all that route-finding all over again!
Keep snacking whenever you want to; you’re likely to feel low on energy – and the altitude will most likely be doing a number on you by now. Take special care when going back down via the Old Army Pass; I nearly slipped a couple of times.
Once you hit the bottom of the pass, it’s mostly flat from there on out. Yay! Fill up your water bottles at the lakes, and maybe take a short nap on the grass – we did, and felt much better for it! (Just be sure to cover your face with your hat or a jacket, the sun can be brutal.)
Then, hoist your backpacks on and trudge back the last 6 miles through the forest, and marvel at how friendly it seems in the daytime!
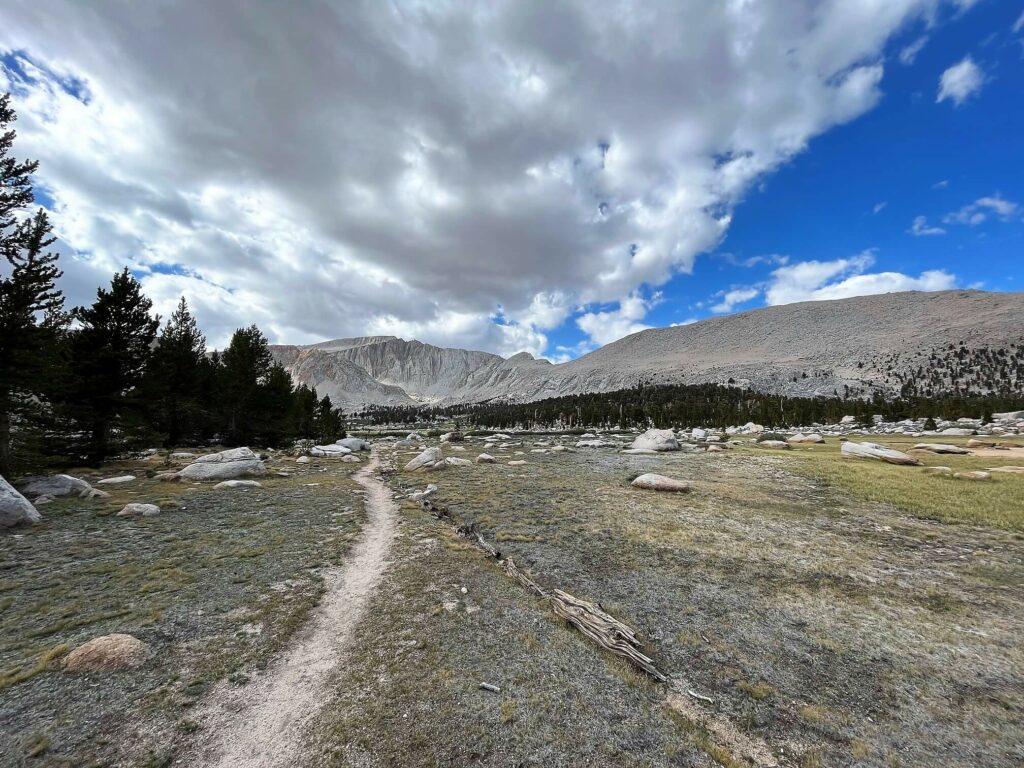
Finally, at 18:30, we were back at the trailhead. What. A. Day. My FitBit read 5000 calories burned and 26.5 miles covered.
Food was needed, of course, and in massive quantities, so we drove back to Lone Pine and stuffed our faces at a Chinese restaurant. Nothing like kung pao chicken and fried rice at the end of a long day.
How to successfully hike Mt Langley
Every year, many hikers make a summit attempt on Mount Langley only to turn back. There’s never any guarantee with a challenging trail like this – not even the weather! And you never know exactly how your body will respond on any given day.
I was lucky to be in peak health on the day of my Mount Langley hike, and that was because I consciously prepared for it. Based on my experience, here are some tips I recommend to increase your chances of a successful hike:
- If this is your first 14er, train for it by going on at least three hard hikes of 15+ miles and 4000+ feet of elevation gain in the month prior. Expose yourself to high altitude and observe how you respond.
- The day before, do a moderate-intensity hike to condition yourself. We hiked Lake Sabrina to Blue Lake – an 8-mile out-and-back trail with around 2000 feet of elevation gain. Not so hard that we’d be exhausted, but a nice challenge that got us used to hiking up in the mountains.
- Even if you can’t do a conditioning hike, spend at least a day at altitude to acclimatise. We live in the Bay Area, and hiking a 14er after coming from sea level would have been impossible. So if you’re new to high altitudes, spend a day at 7000+ ft elevation before hiking Mount Langley.
- Carry layers. The morning gets chilly.
- Get a good night’s sleep, at least six hours. We turned in by 18:30 to wake up at 01:00. You’ll need all the rest you can get for this hike.
- Have a hot, carb-rich breakfast before you set out. The energy will help you power through the initial, flattish section of the trail and save more time for the steep section.
- Have plenty of snacks handy. You will need food at regular intervals on this hike. Protein bars, dried fruit, jerky, trail mix – anything that’s nutrient-dense. Snack at least once every two hours, even if you aren’t hungry. It’s not about feeling hungry; it’s about keeping your body fuelled for the tremendous exertion you’re putting it through.
- If you’re new to scrambling, you may want to bring along some trekking poles. These can be great for stability and for testing the ground before you put your foot down. I prefer not to use them, but by all means, bring a pair if they help you feel more confident.
- Take your time with the boulder section. Try and see where other hikers up ahead are going and follow them, if you aren’t confident about finding your own route. Use your hands to balance yourself whenever you need to.
- Altitude sickness can affect anyone, even professional hikers. Be prepared – keep pausing to breathe as often as you need to, and keep Diamox or its equivalent handy. And if you experience symptoms like dizziness, confusion, nausea or vomiting, stop and turn back immediately.
All in all, hiking Mount Langley is a true test of mettle and a great place to start for hikers looking to summit more 14ers. If you’re in great shape, are well-nourished and hydrated and are mentally prepared for the challenge, you can do it! Good luck, and let us know how it went.
Like Our Article? Please Pin it!

Leave a Reply